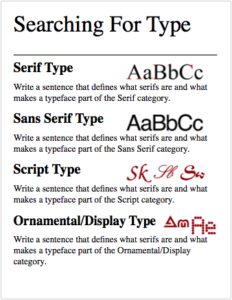
In today’s assignment, we will further investigate the four major classifications of type we studied yesterday by categorizing a given font into one of the four kinds of type.
Objective:
- I can demonstrate my ability to identify which of the four major typeface categories a given font belongs to by completing the Typeface Identification activity, so that I can gain experience with recognizing type categories by sight.
Vocabulary Words:
- Type
- Typeface
- Font
- Serif
- Sans Serif
- Script
- Ornamental/Decorative/Display
Links:
Topics Discussed:
- Serif Fonts
- Sans Serif Fonts
- Script Fonts
- Ornamental/Decorative/Display Fonts
Assignment:
- Visit my Google Classroom page and open the Google Form entitled “Type Identification Fall 2025”.
- For each of the list of 20 fonts provided, look at the font and choose which of the four Type Categories it belongs to. Each font will go into one of the four font categories we have studied in class: Serif, Sans Serif, Script or Ornamental/Display, but some might even belong to more than one category, so choose the one you think is best!
- Submit your form, and mark the assignment as done on the Google Classroom page. We will discuss the answers towards the end of the class period.
Assigned: September 23rd, 2025
Teacher Pacing Due Date: September 24th, 2025

