
Objective:
I can effectively utilize the capabilities of Filters in Adobe Photoshop so that I can apply advanced effects to my images.
Tutorial Link:
Adobe Photoshop – Apply Filters: https://creativecloud.adobe.com/learn/photoshop/web/applying-filters-basics?locale=en
Topics Discussed:
- Filter Gallery
- Destructive Edit
Assignment:
- Click on the picture of the pretty white rose at the bottom of this page to open the full-size copy, and right-click it to save the full-size copy to your desktop. The file should be called “justrose.jpg”. Open this file in Photoshop using any of the methods we learned in class this week.
- Open the Filter Gallery (Filter menu -> Filter Gallery) and search through the available filters, noting the Properties panel on the right hand side for each. See how each filter affects the image, and play with the Properties sliders and controls to see how the Properties affect the filter.
- Look through all the filters, and pick five that you particularly like. Remember these five for the next part of the project; write them down on a piece of paper if it helps you remember the names of the filters.
- Change the rose photo using one of your favorite filters, then click the OK button in the upper right corner of the Filter Gallery to apply it to your image. Save the picture as a JPEG with the name of the filter you used (For example: ”Colored pencils.jpg”).
- Note that when you apply this filter, it will permanently change the image (unlike the Adjustment Layers that we studied earlier this week). This is known as a Destructive Edit, because it will permanently alter the image when you save the JPEG document.
- You may also notice that by clicking the plus sign “+” in the lower right corner of the Filter Gallery, you can “stack” filters just like Layers. Add multiple filters to see what effects you can stack in your rose image!
- Open a new copy of “justrose.jpg” and repeat this process four more times, with a different filter each time. You should have five pictures, each with a different filter, when you are done.
- To complete this assignment: Design a composition in InDesign using your five different pictures. One picture should be bigger than the rest (the focal point or “dominant image”).
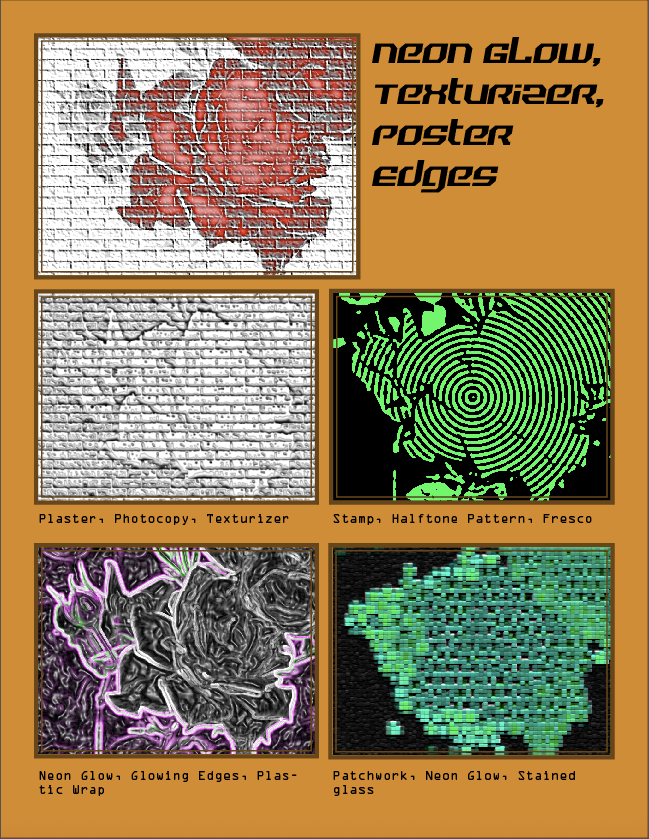
- Create a new InDesign document with the default settings (don’t forget to change your units from Picas to Inches!)
- Place your images in this document using the Place command (Command-D) or by dragging your saved JPEG rose images onto your page.
- Pick out your favorite filtered rose image to make the dominant image. Fill up the page with the pictures.
- Near each picture (using Proximity!), use the Type tool to write a caption with the name of the filter you used (or multiple names, if you used multiple filters).
- When finished, save the file as <your name>.filters.indd, export the file as a High Quality Print format PDF (File -> Adobe PDF Presets -> High Quality Print) and save the resulting PDF file to the “Adobe Photoshop 2025 – Rose Filters” assignment post on our Google Classroom page.
Image:

Assigned: October 21st, 2025
Teacher Pacing Due Date: October 22nd, 2025
