
Objective:
I can use layers and clipping masks to create an “Image in Text” picture.
Links:
https://www.creativepro.com/article/fill-text-images-photoshop
or
https://www.photoshopessentials.com/photoshop-text/text-effects/image-in-text/
or
https://www.photoshopessentials.com/photoshop-text/text-effects/image-in-text/
Topics Discussed:
- Clipping Mask
- Layers
Assignment:
Following the instructions in the above tutorials, or the instructions in the “Images in Text” worksheet linked below, use Photoshop CC and the “Create Clipping Mask” item in the”Layers” menu to produce a total of four “Image in Text” pictures:
- Your name with your picture inside the text (use the iSight camera and Photo Booth to take your own picture).
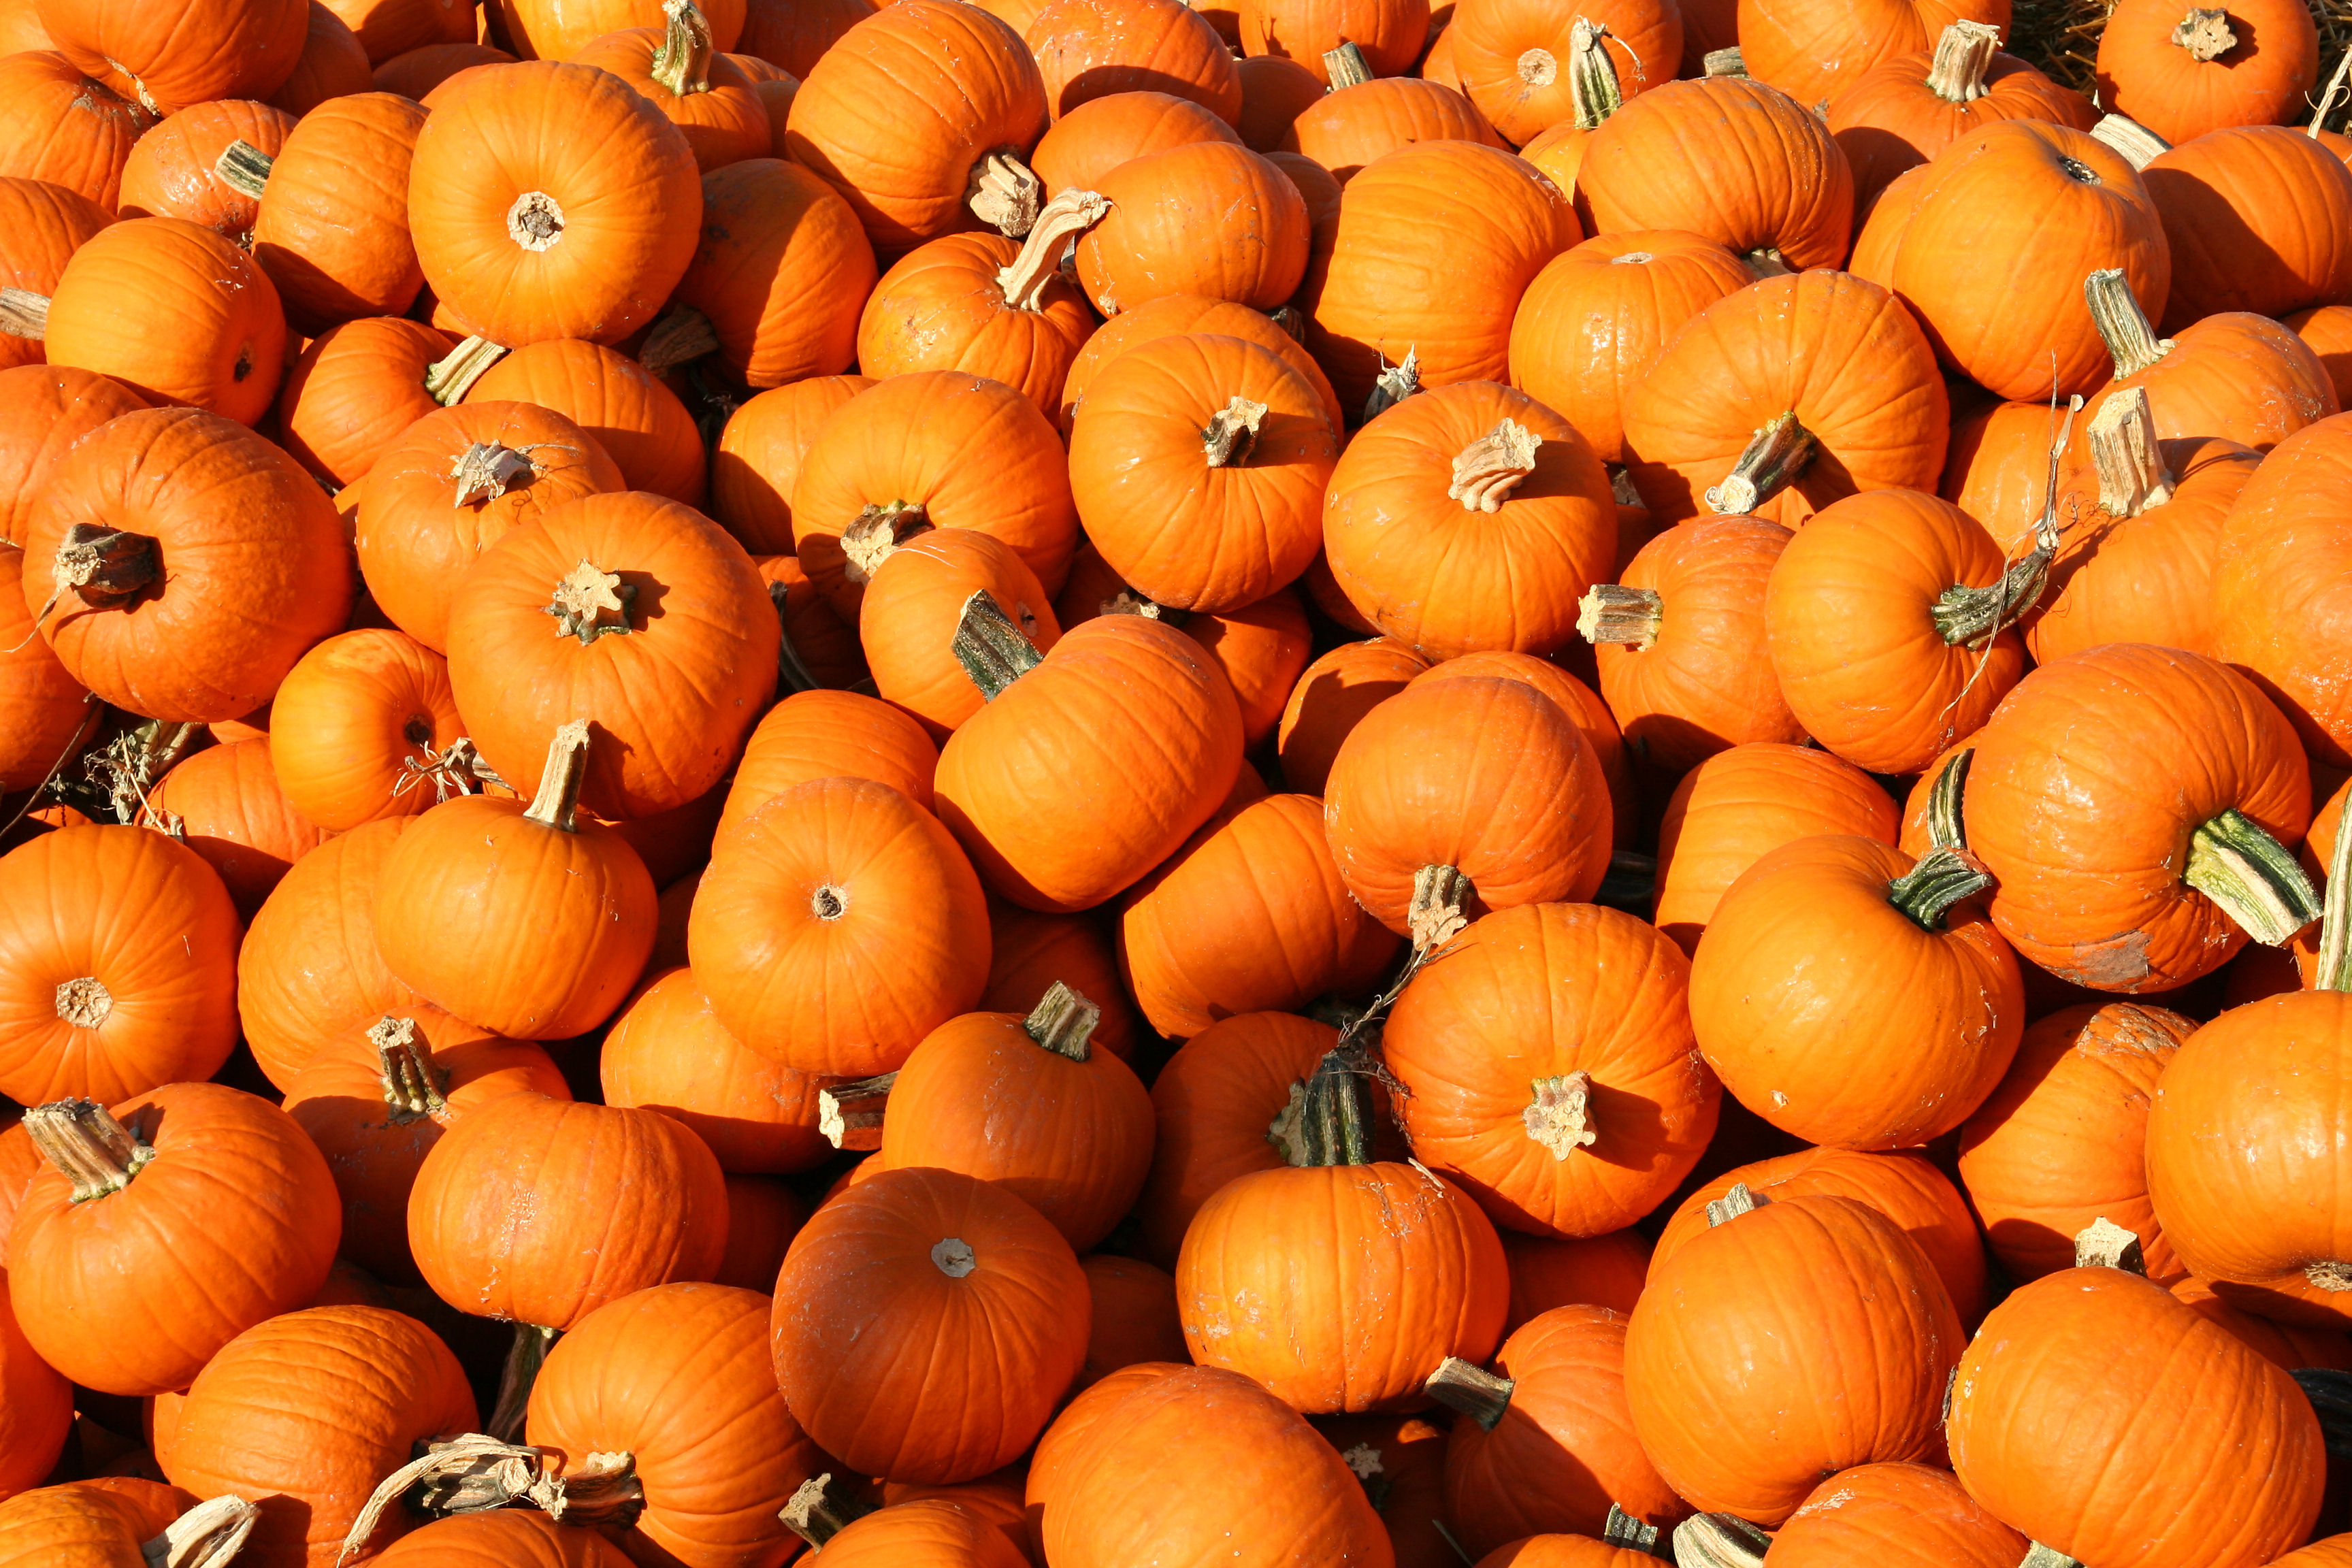
- A fall, harvest or holiday-related word with a seasonal picture inside the text (see the “Happy Thanksgiving” image in the instructions for an example)
- Any other words and picture of your choice. (Example: The word “Mustang” with a picture of a Mustang inside the word.)
- Place these three images, plus the “Pumpkins” image we created in class today into a folder with your name on it. You should now have four images (Pumpkins, Fall-related, Your-Face-in-Your-Name, and Your Choice).
- Try to turn these in by the end of the day today (Monday, October 29th). Upload them to today’s post in the Google Classroom.
- Do your best to get this done today, as we will be starting a new, multi-part project tomorrow!
Attachments:
Assigned: October 29th, 2018
Teacher Pacing Due Date: October 30th, 2018
Teacher Pacing Due Date: October 30th, 2018
